SSO for Jira
Overview
Akku, developed by CloudNow Technologies, is a robust Identity & Access Management (IAM) solution designed to streamline user provisioning, access management, and activity monitoring throughout the user lifecycle. It offers administrators the tools to efficiently manage user privileges and ensure data security in cloud environments. With Akku, organizations can confidently embrace cloud technology while maintaining compliance with standards and regulations. Its comprehensive features enable seamless onboarding, secure authentication, a single point-of-access to all applications, enforcement of access policies, and monitoring of user activity to detect and respond to security threats effectively while enhancing the user experience significantly. By prioritizing data security, privacy, and compliance, Akku provides users with peace of mind while improving overall productivity. With its flexible and scalable architecture, Akku is well-equipped to meet the evolving needs of modern organizations in managing their identity and access requirements.
Introduction
Jira SAML SSO with Akku provides a secure and reliable method for authenticating users. To set it up, you'll need a Jira account, an Akku account, and the SAML SSO Integration feature enabled. First, configure your Akku instance by adding the Jira SAML SSO app and specifying the required fields. Then, grant Akku permission to access your Jira domain. Next, set up the SAML request URL and authentication URL in your Akku instance. Finally, test your integration to ensure seamless authentication for your users.
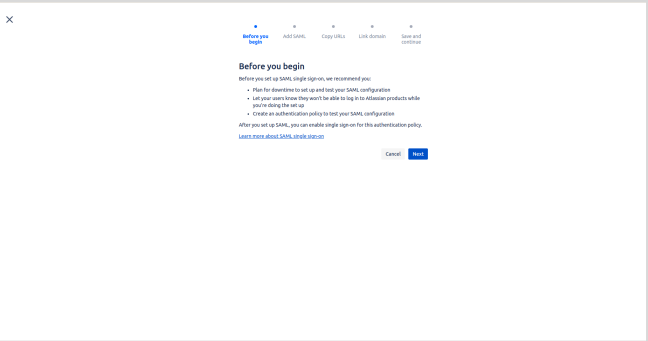
Configure Jira for SSO
The steps listed below provide instructions on adding the Jira application from the QuickLaunch App Store and configuring SAML SSO for the added application
Login into Akku
Login into Akku using the tenant url using username and password
https://yourclientName.akku.work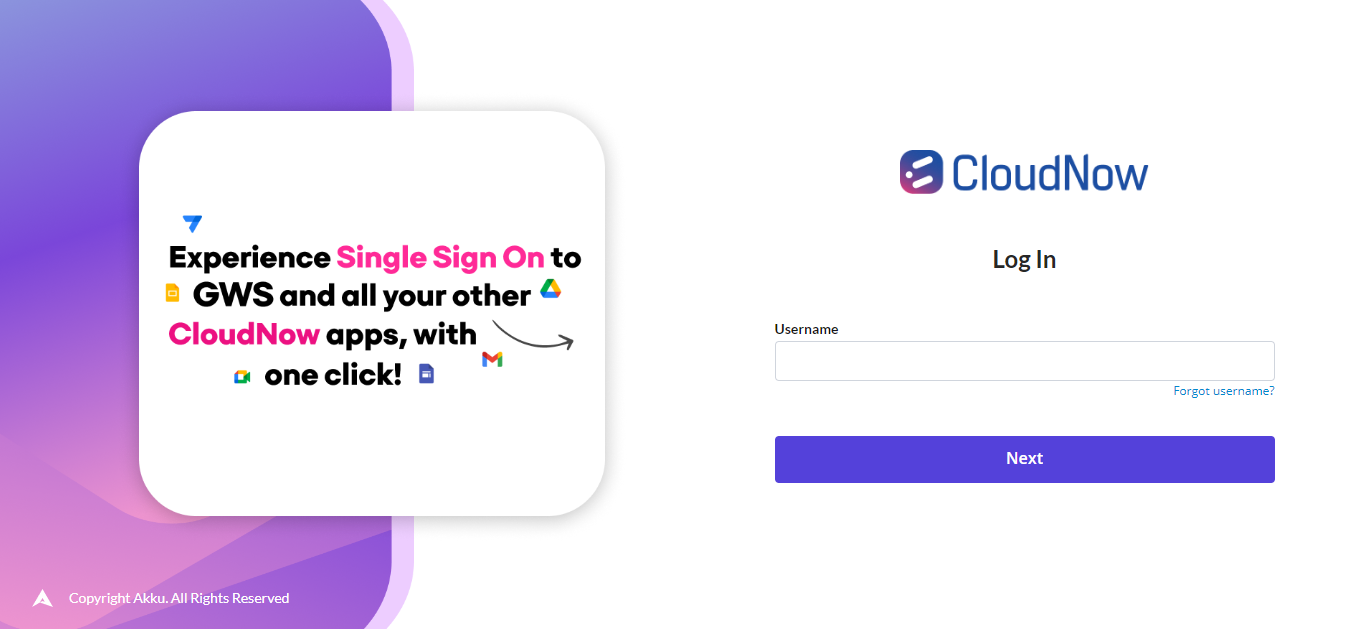
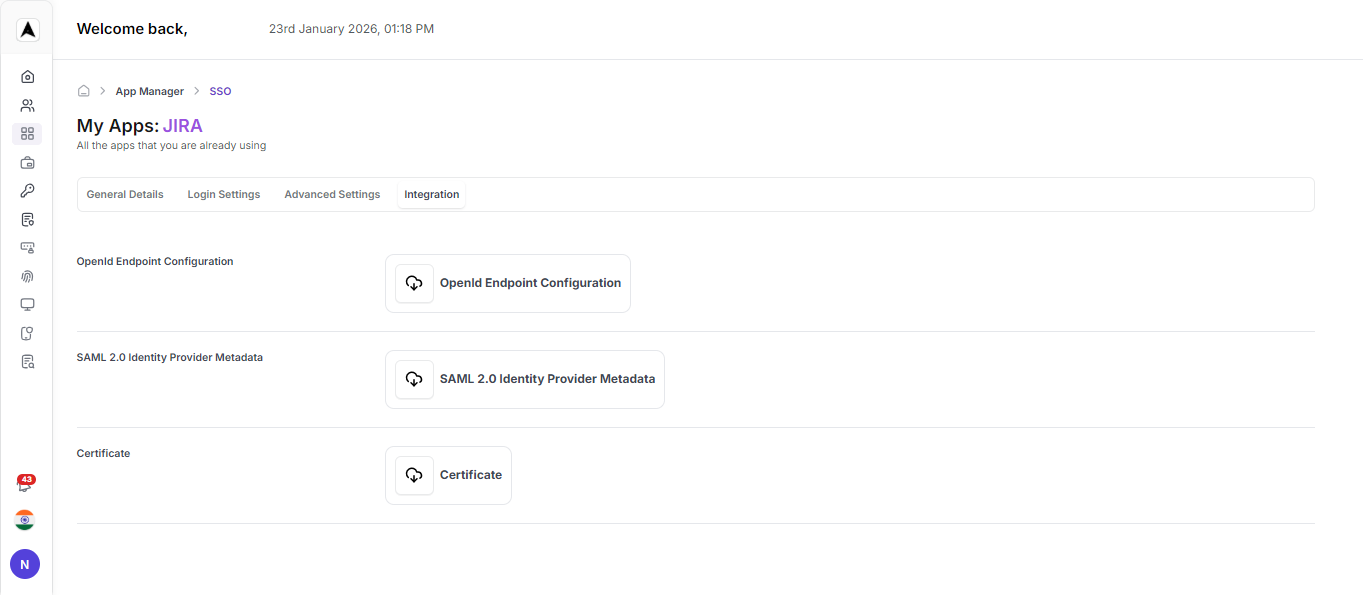
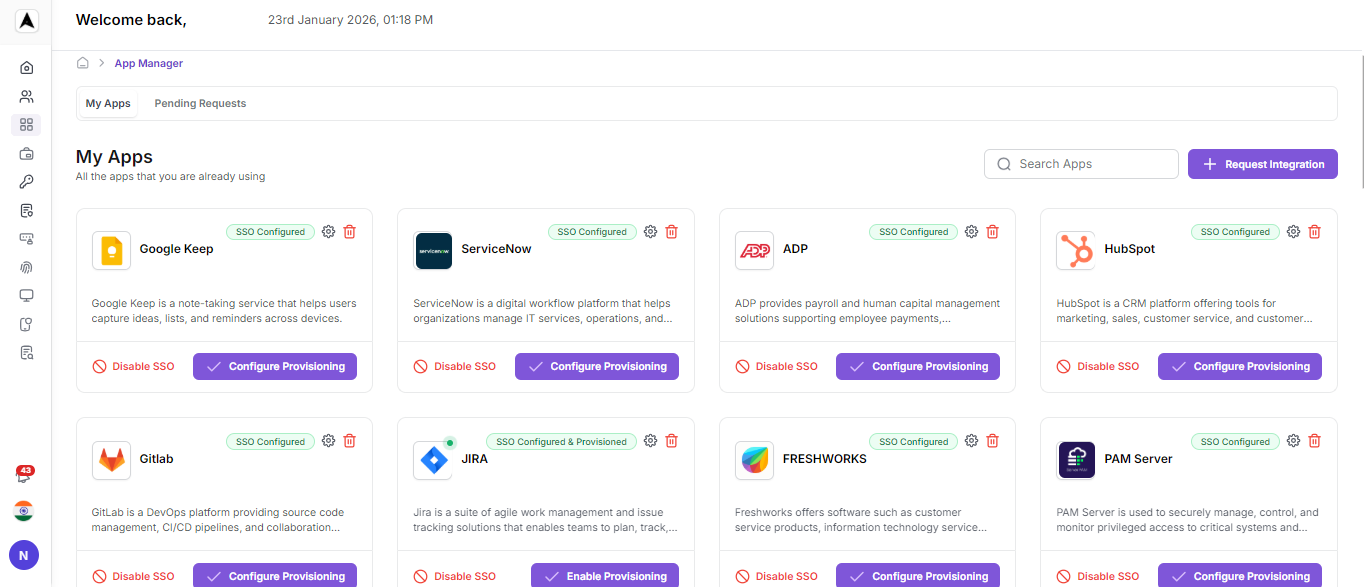
Navigate to App Management and Search for Jira
Navigate to App Management and search for Jira in the Available Apps. Click on Configure to generate the SAML metadata file.
Jira SSO Integration with Akku-2.0
Configure Jira Admin Console for SAML SSO
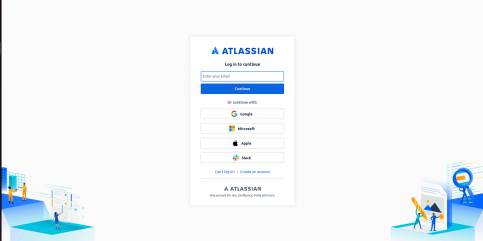
Log in to the Jira Admin Console
Jira admin login URL = admin.atlassian.com
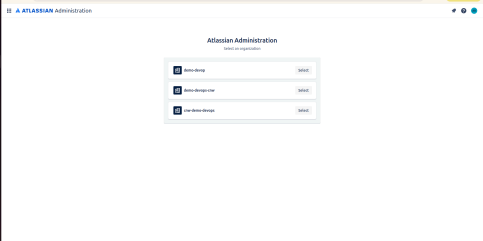
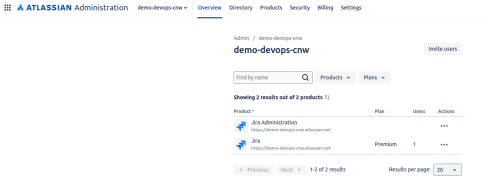
Select the Project
After successfully logging in, select the project according to your requirements.
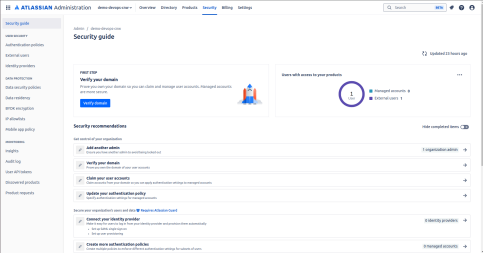
Select the Security Option
Select the Security option in the admin console.
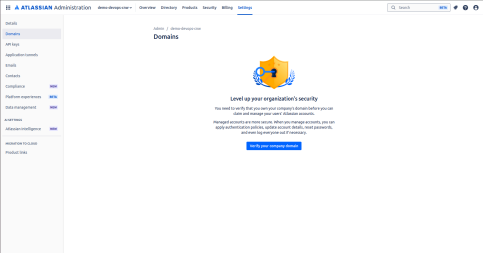
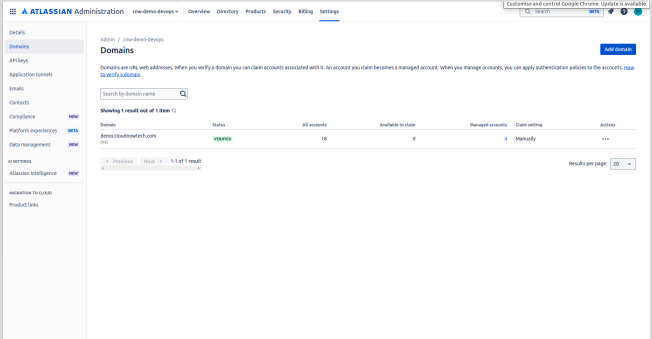
Verify the Domain
Verify the domain according to the user's account.
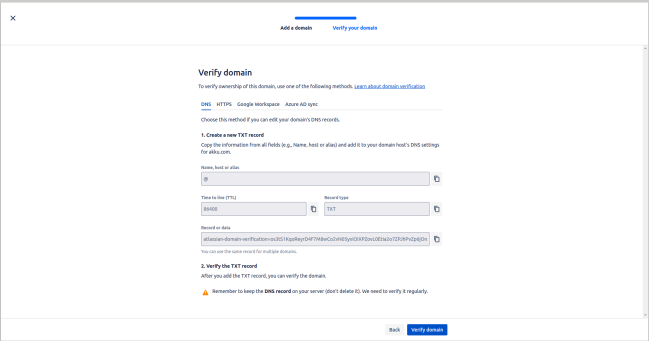
Next, click on verify your domain name.
- Enter the domain name as specified by the client.

- Enter the following DNS records at the client's domain name, then click the Verify Domain option in the Jira Admin console.Screenshot
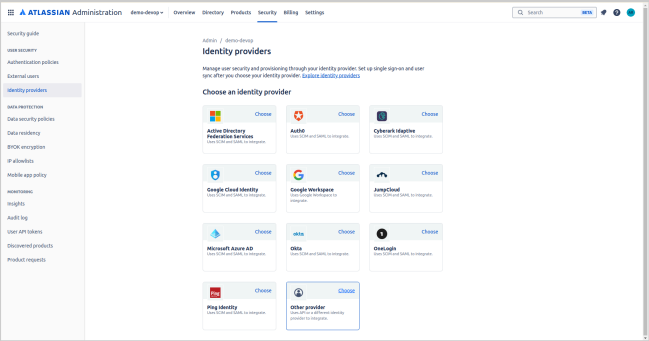
- Look for the Identity Providers option on the Security page on the left side.
- Click on it, then select the Other Provider option.
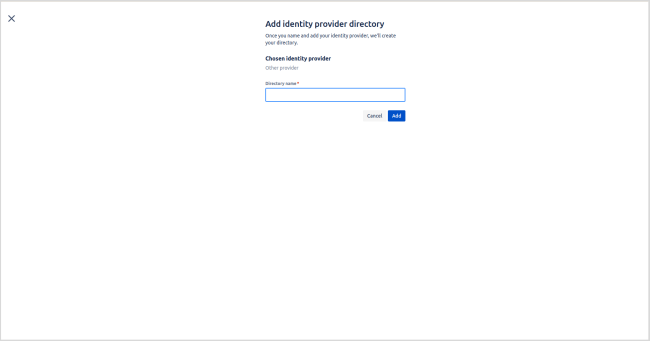
- Enter the directory name according to the client's specifications.
- Select the option: Set Up SAML Single Sign-On.
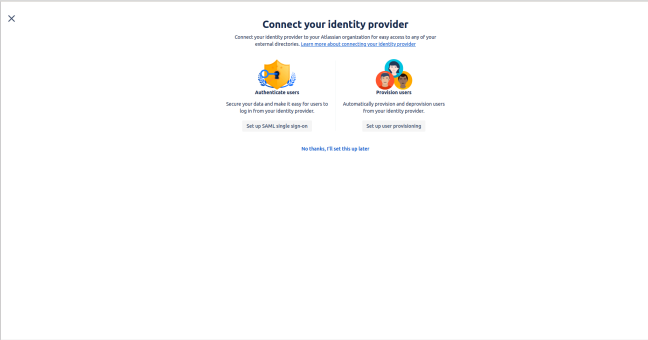
- Click on Next
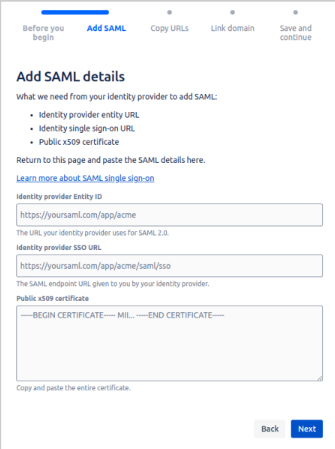
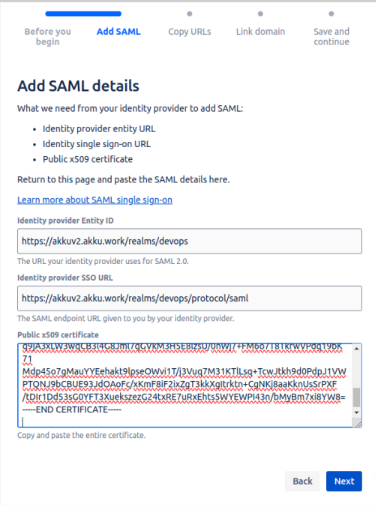
Next, we have to enter the configuration details:
Identity provider Entity ID
https://akkuv2.akku.work/realms/<Realm Name>

Identity provider SSO URL
https://akkuv2.akku.work/realms/<Realm Name>/protocol/saml

Public x509 certificate = which will be provided in the Akku-2.0 admin console. Copyright 2024, CloudNow LLC. 10- Before adding the details:
- After adding the details:
It will provide two URLs that need to be added to the Akku-2.0 Admin Console:
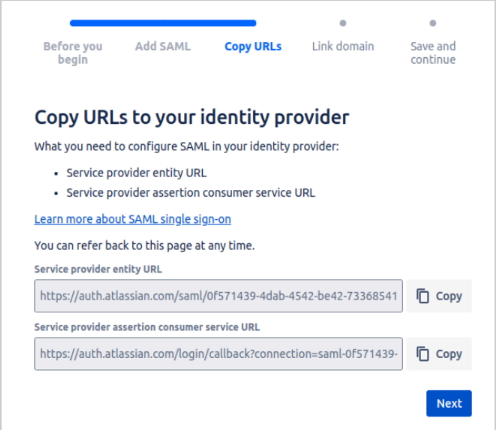
Service provider entity URL
https://auth.atlassian.com/saml/0f571439-4dab-4542-be42-733685414d1a

Service provider assertion consumer service URL
https://auth.atlassian.com/login/callback?connection=saml-0f571439-4dab-4542-be42-733685414d1a
Enable SSO and Add Members
Configure authentication policies and add members
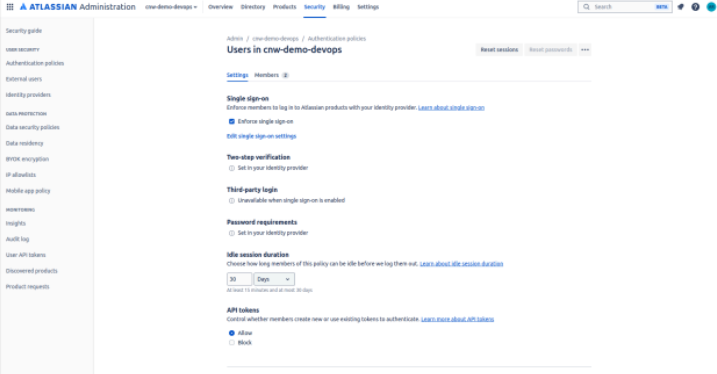
Enable SSO
- Go to admin.atlassian.com. Select your organization if you have more than one.
- Select Security → Authentication policies.
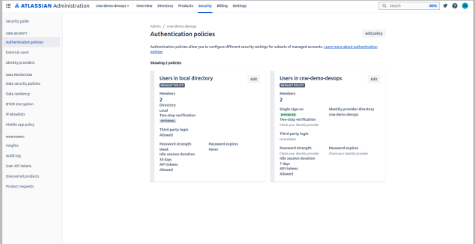
- Select Edit for the policy you want to enforce.
- Select Enforce single sign-on.
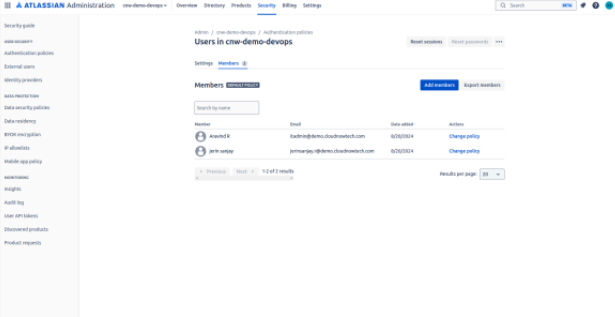
Add Members to Authentication Policies
Members come from your managed accounts, and add them to different policies. Enter members individually or in bulk to your authentication policy.
To enter members individually:
- Go to admin.atlassian.com. Select your organization if you have more than one.
- Select Security → Authentication policies
- Select Edit.
- Select Members tab → Add members.
- Enter a user name or email address (only up to 20 users).
- Select Add.
To enter members in bulk:
- Go to admin.atlassian.com. Select your organization if you have more than one.
- Select Security → Authentication policies
- Select Edit.
- Select Members tab → Add members.
- Select Bulk entry → Select Upload to add a CSV file (only up to 10,000 emails from your managed accounts are allowed).
- Select Add.
Akku 2.0 Configurations with Jira
Configure Akku with Jira metadata
Login into Akku
Login into Akku using the tenant url using username and password
https://yourclientName.akku.work
Navigate to App Management
Navigate to App Management and search for Jira in the Available Apps. Click on Configure to generate the SAML metadata file.
- On the left side, click the App Management option.
- In the Apps Management section, search for the Jira app and click on it.
Configure Application Type
For the application type, select the option: SAML.
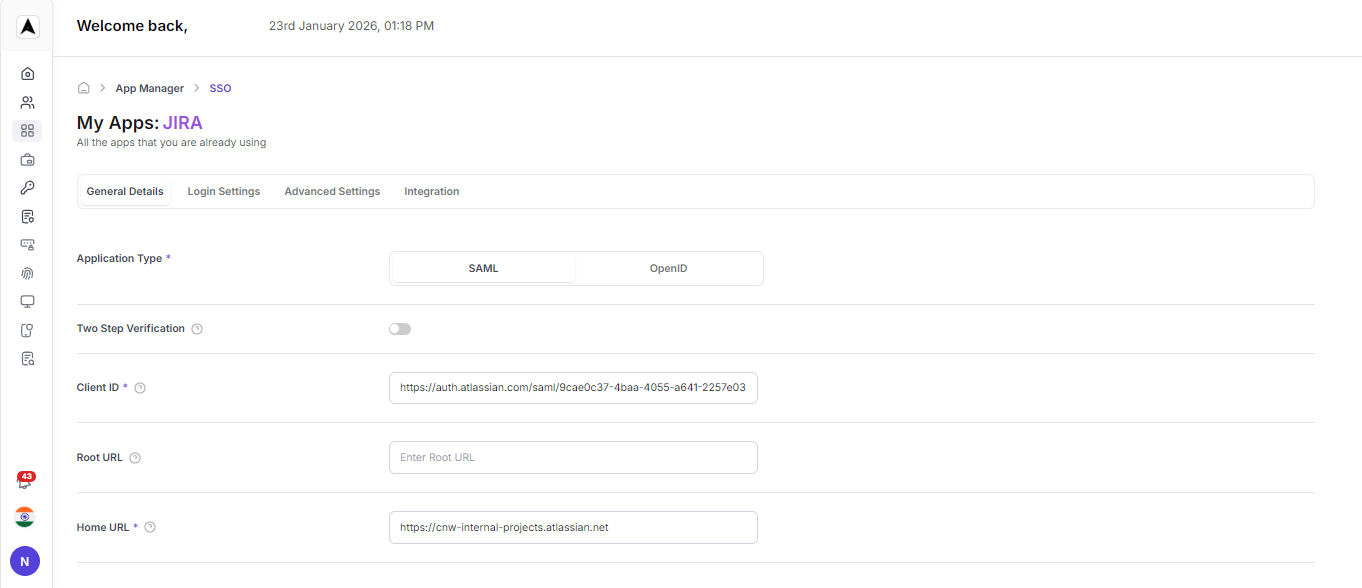
General Settings
Client Type: SAML

Client ID: <Service Provider Entity URL provided at the Jira Admin Console>Login Settings
Home URL
https://<Client Jira Address>.atlassian.net

Valid Redirect URL
https://auth.atlassian.com/*

Master SAML Processing URL
https://id.atlassian.com/logout• Valid Redirect URL: https://auth.atlassian.com/*
• Master SAML Processing URL: https://id.atlassian.com/logout
.png)
Advanced Settings
Assertion Consumer Service POST Binding URL
<Service Provider Assertion Consumer Service URL from Jira Admin Console>

Assertion Consumer Service Redirect Binding URL
<Service Provider Assertion Consumer Service URL from Jira Admin Console>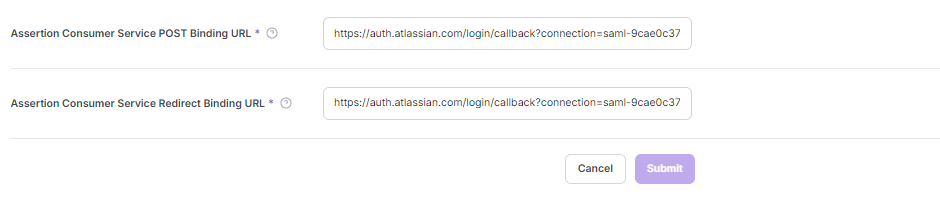
Save Configuration
Finally, save the changes.