SSO for O365
Overview
Akku, developed by CloudNow Technologies, is a robust Identity & Access Management (IAM) solution designed to streamline user provisioning, access management, and activity monitoring throughout the user lifecycle. It offers administrators the tools to efficiently manage user privileges and ensure data security in cloud environments. With Akku, organizations can confidently embrace cloud technology while maintaining compliance with standards and regulations. Its comprehensive features enable seamless onboarding, secure authentication, a single point-of-access to all applications, enforcement of access policies, and monitoring of user activity to detect and respond to security threats effectively while enhancing the user experience significantly. By prioritizing data security, privacy, and compliance, Akku provides users with peace of mind while improving overall productivity. With its flexible and scalable architecture, Akku is well-equipped to meet the evolving needs of modern organizations in managing their identity and access requirements.
Introduction
Office 365 (O365) SAML with Akku provides a secure and reliable method for authenticating users. To set it up, you'll need an Office 365 account, an Akku account, and the SAML Integration feature enabled. First, configure your Akku instance by adding the Office 365 SAML app and specifying the required fields. Then, grant Akku permission to access your Office 365 domain. Next, set up the SAML request URL and authentication URL in your Akku instance. Finally, test your integration to ensure seamless authentication for your users.
Configure O365 Settings on Akku
The steps listed below provide instructions on adding the Application app from the QuickLaunch App Store and configuring SAML SSO to the added Application app
Login to Akku Administration Console
Login to the Administration Console of Akku using your tenant URL (e.g. clientname.akku.work)
Navigate to App Management and Search for O365
Navigate to App Management and search for O365
Define Client Type and Client ID
Select SAML and click on General Settings and define the Client Type and Client ID
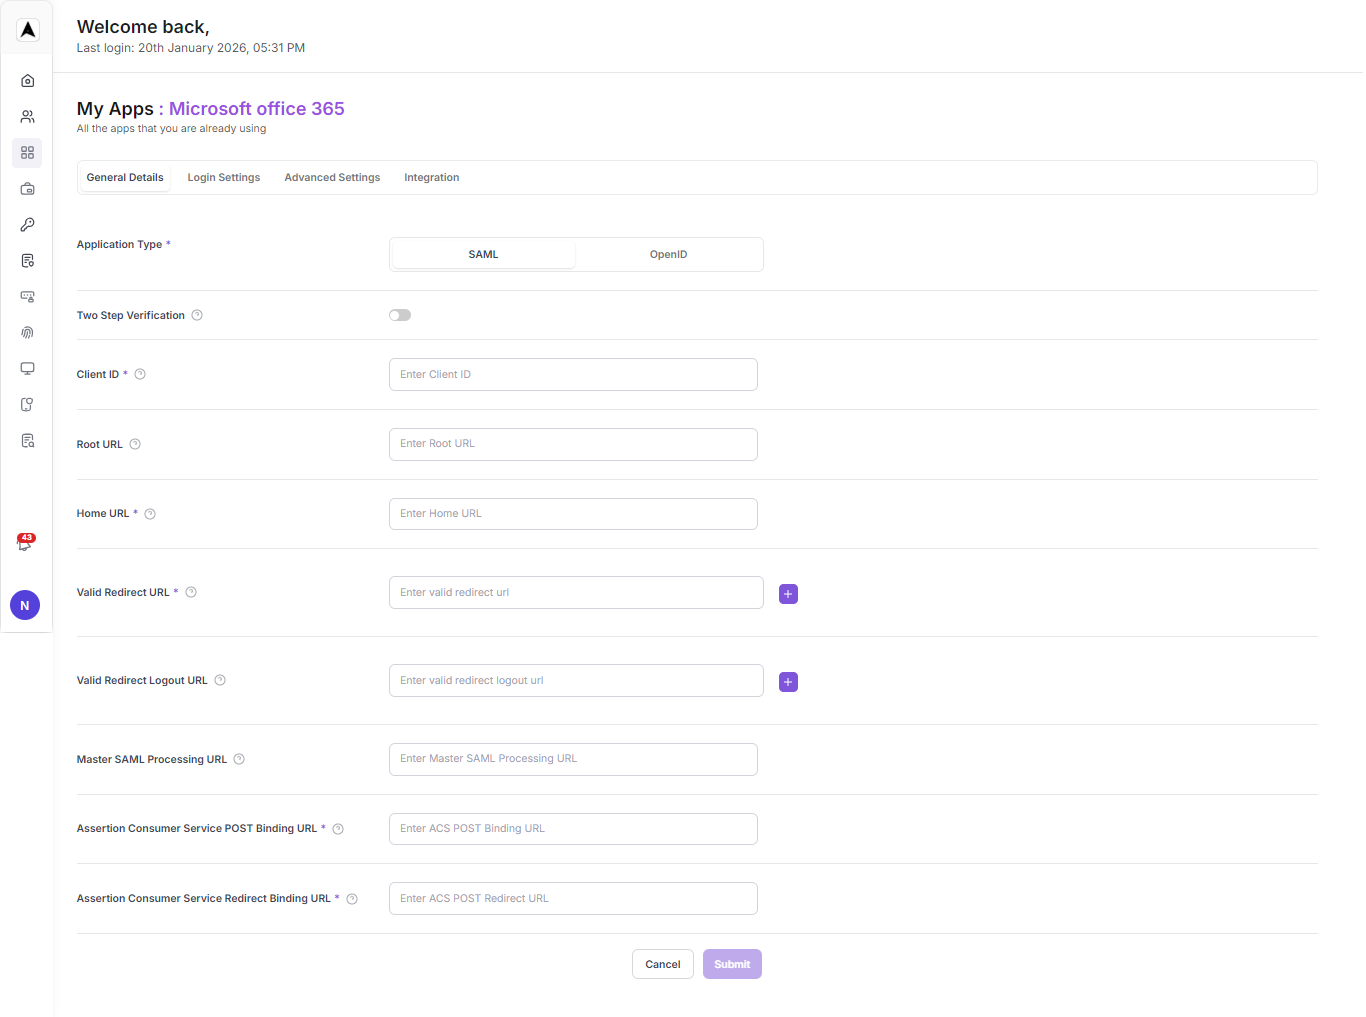
Define Login Settings & Advanced Settings
Client Id
urn:federation:MicrosoftOnline
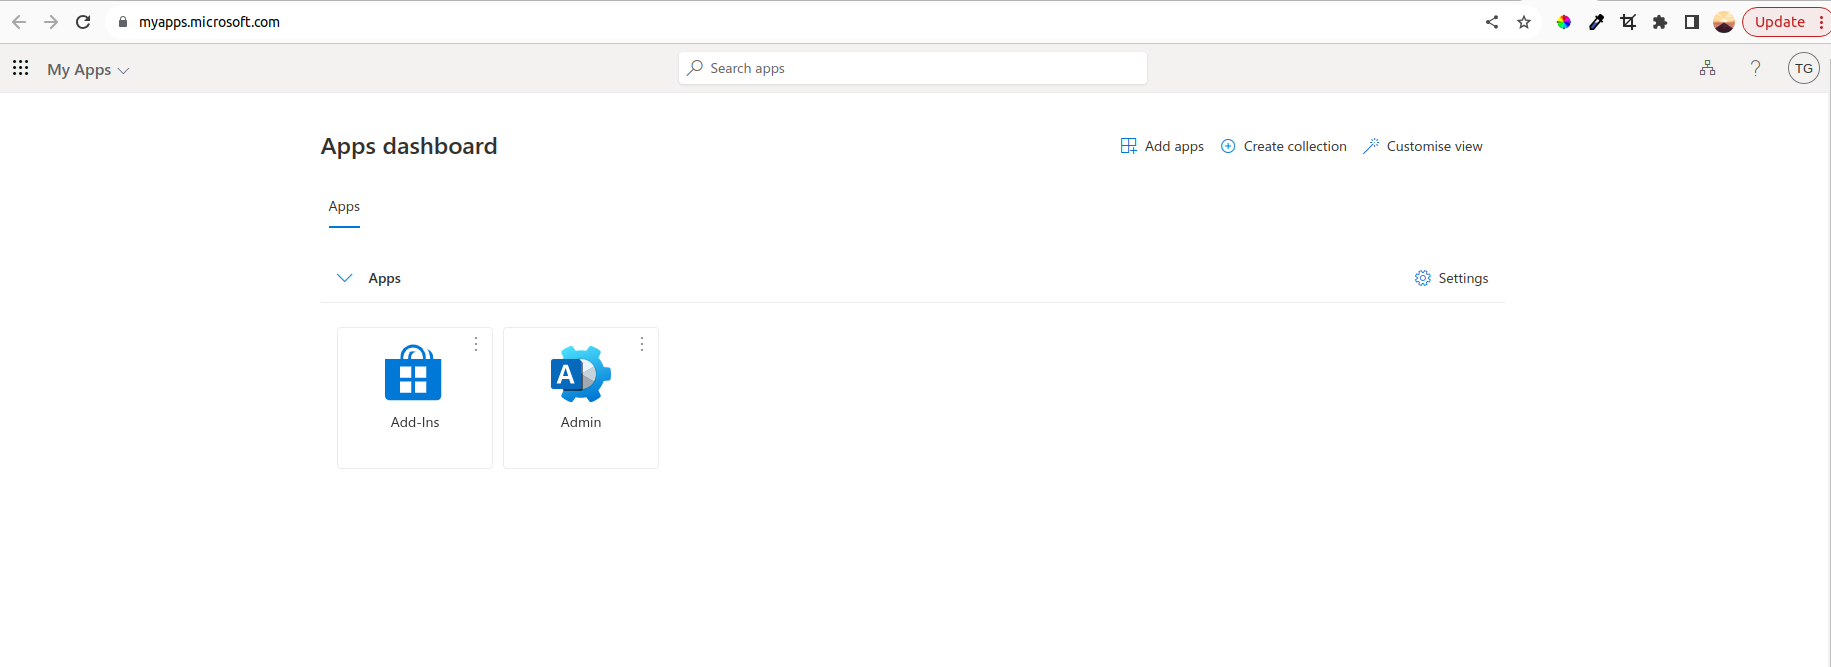
Home URL
https://myapps.microsoft.com/domainUrl
Valid redirect URL
https://login.microsoftonline.com/login.srf
Assertion Consumer Service POST Binding URL
https://login.microsoftonline.com/tenantId/saml2
Assertion Consumer Service Redirect Binding URL
https://login.microsoftonline.com/tenantId/saml2Replace Domain URL and Tenant ID
Replace domainURL and tenantId with appropriate values.
Save the Settings
Save the settings.
Go to Akku Side
Go to Akku side
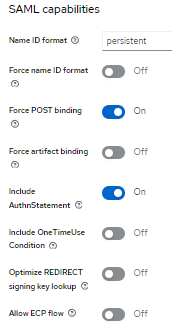
Go to SAML Capabilities
Go to SAML capabilities
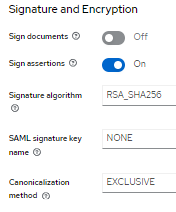
Goto Signature and Encryption
Goto Signature and Encryption
Goto Advanced Tab
Assertion Consumer Service POST Binding URL
https://login.microsoftonline.com/tenant id/saml2

Assertion Consumer Service Redirect Binding URL
https://login.microsoftonline.com/tenant id/saml2

Logout Service POST Binding URL
https://login.microsoftonline.com/tenant id/saml2Goto Client Scope
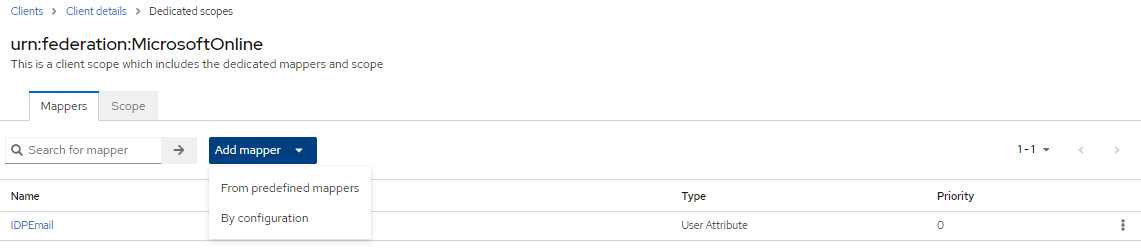
Configure the Client Scope settings:
- Go to the Client Scopes tab.
- Click on the urn:federation:MicrosoftOnline-dedicated scope.
- The Mappers screen will appear.
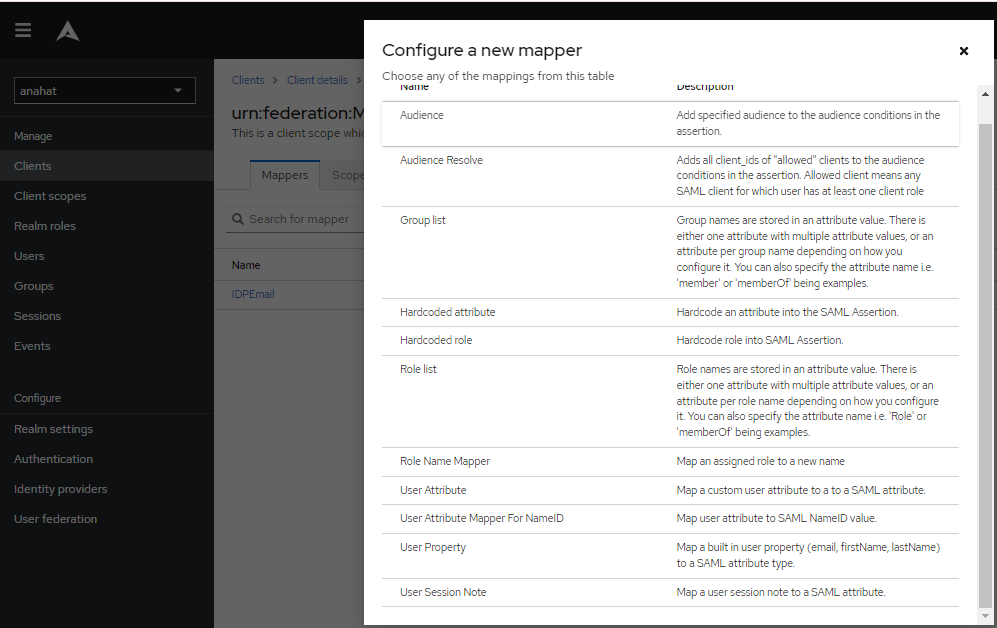
- Click on My Configuration.
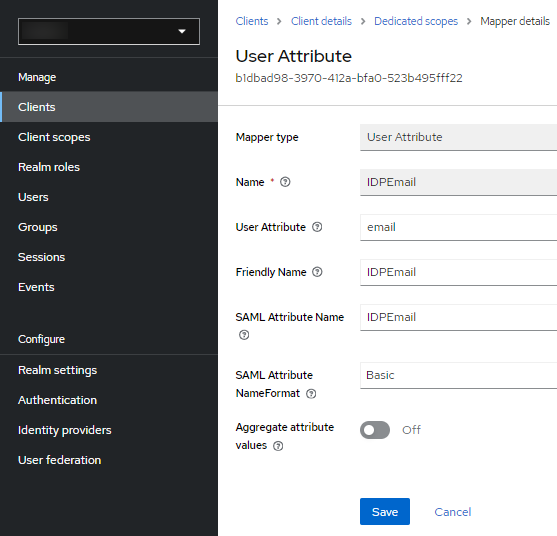
- Select User Attribute.
- Fill in the data based on the image provided.
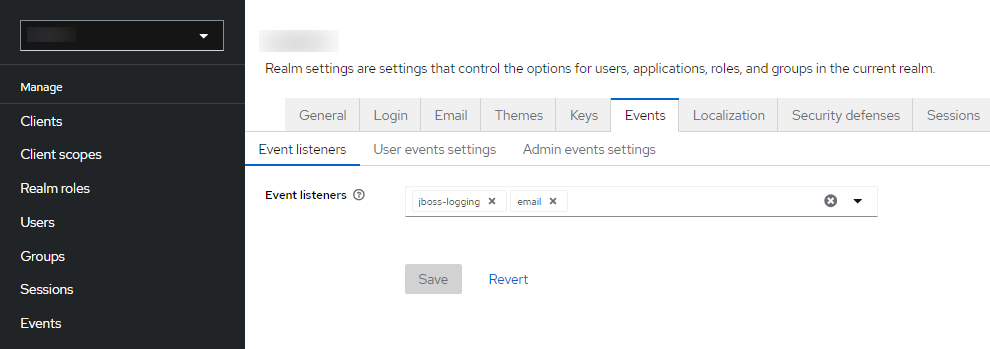
Go to Event Tab
Go to Event tab
Configuring SAML Settings in O365
Configuring SAML settings in Office 365 using PowerShell involves several steps
Prerequisites
- Office 365 Account: Ensure you have admin access.
- PowerShell Module: Install the AzureAD and MSOnline modules if not already installed.
- SAML Configuration Details: Entity ID, Assertion Consumer Service (ACS) URL, and certificate from your Identity Provider (IdP).
Install PowerShell Modules
Open PowerShell as an administrator and run the following commands to install the required modules:
Install-Module -Name AzureAD
Install-Module -Name MSOnlineConnect to Office 365
Connect to Azure AD and Office 365 services using your admin credentials:
# Connect to Azure AD
Connect-AzureAD

# Connect to MSOnline
Connect-MsolServiceRetrieve Your Current Domain Federation Settings
Retrieve the current federation settings for your domain to ensure you don't overwrite any existing settings:
Get-MsolDomainFederationSettings -DomainName yourdomain.comConfigure SAML Settings
Use the Set-MsolDomainAuthentication cmdlet to configure the SAML settings. Replace the placeholders with your actual values.
Set-MsolDomainAuthentication -DomainName yourdomain.com `
                             -FederationBrandName "YourBrandName" `
                             -IssuerUri "your-entity-id" `
                             -PassiveLogOnUri "your-login-url" `
                             -SigningCertificate "your-signing-certificate" `
                             -LogOffUri "your-logoff-url" `
                             -MetadataExchangeUri "your-metadata-url" `
                             -PreferredAuthenticationProtocol SAMLP
Here's a breakdown of the parameters:
- DomainName: Your Office 365 domain.
- FederationBrandName: A name for your federation brand.
- IssuerUri: The Entity ID from your IdP.
- PassiveLogOnUri: The login URL (ACS URL) from your IdP.
- SigningCertificate: The base64 encoded signing certificate from your IdP.
- LogOffUri: The URL users will be redirected to upon logging off.
- MetadataExchangeUri: The URL where Office 365 can retrieve the IdP metadata.
- PreferredAuthenticationProtocol: Set to SAMLP for SAML 2.0.
Verify Configuration
Check if the domain federation settings have been updated correctly:
Get-MsolDomainFederationSettings -DomainName yourdomain.comFunctional Testing
Test the O365 SAML SSO integration
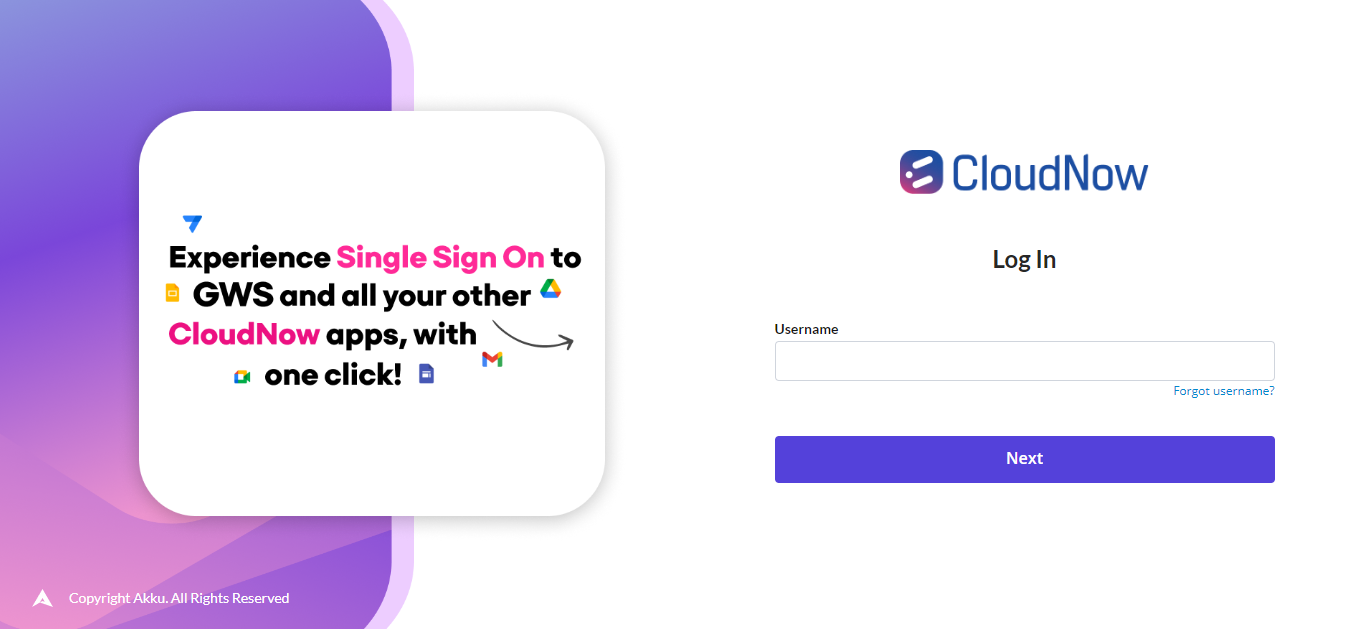
Navigate to Akku Tenant
Navigate to your tenant url (e.g. clientname.akku.work)
Login with Credentials
Login with a valid username and password
Launch O365 from Applications Wall
Launch O365 from the wall of applications
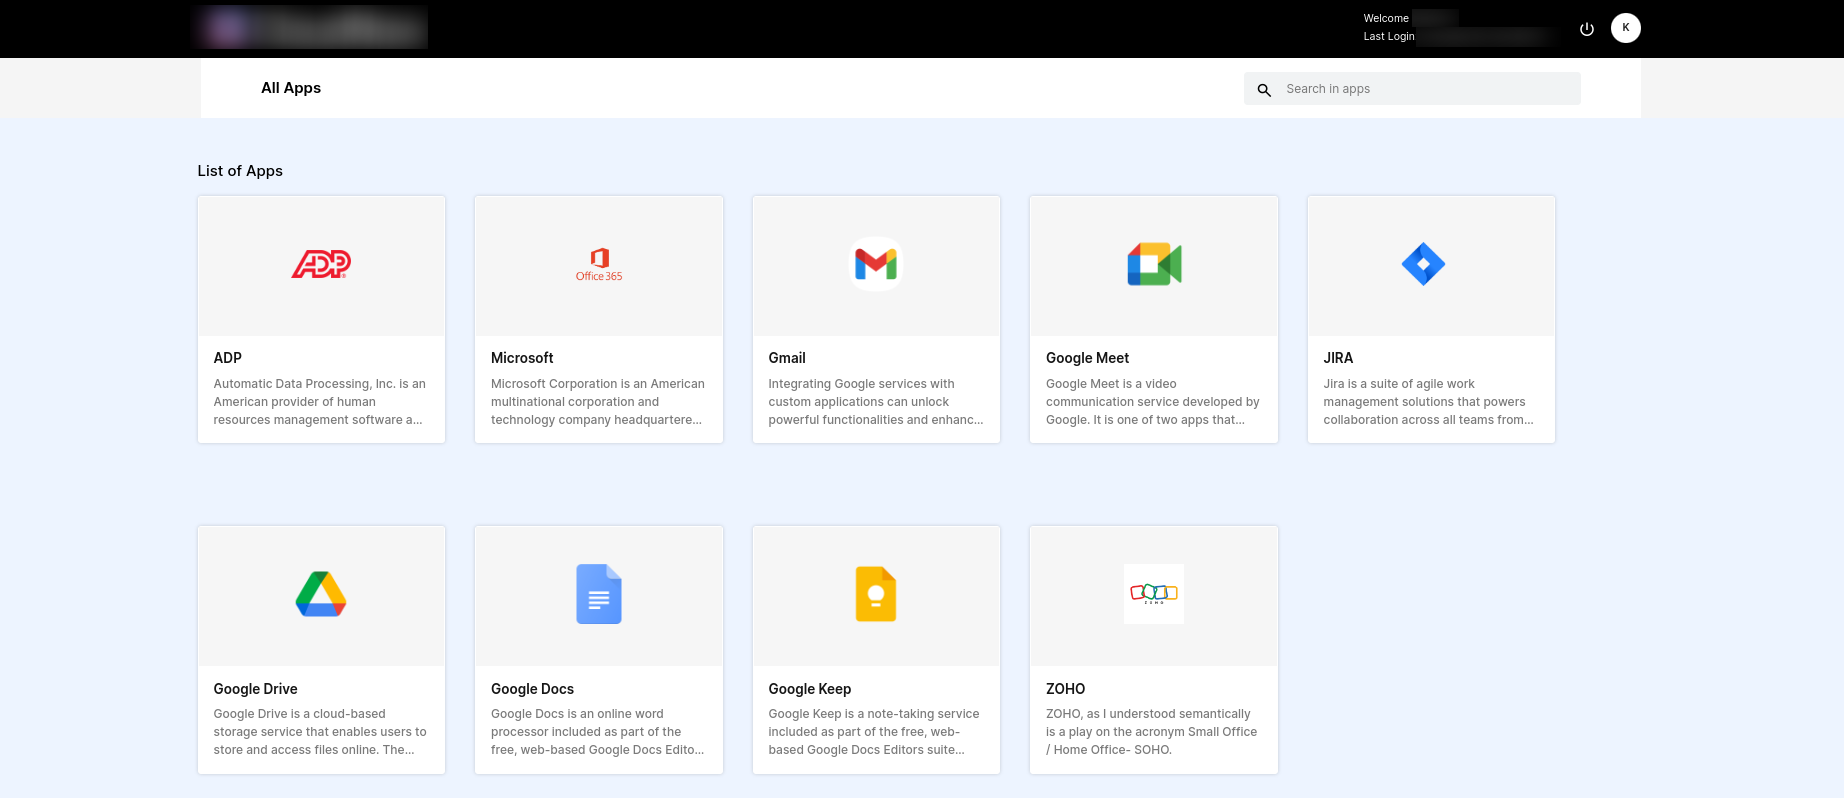
Access O365 Account
Click on O365 icon and the same should take you straight to your O365 Account