SSO for ServiceNow
Overview
Akku, developed by CloudNow Technologies, is a robust Identity & Access Management (IAM) solution designed to streamline user provisioning, access management, and activity monitoring throughout the user lifecycle. It offers administrators the tools to efficiently manage user privileges and ensure data security in cloud environments. With Akku, organizations can confidently embrace cloud technology while maintaining compliance with standards and regulations. Its comprehensive features enable seamless onboarding, secure authentication, a single point-of-access to all applications, enforcement of access policies, and monitoring of user activity to detect and respond to security threats effectively while enhancing the user experience significantly. By prioritizing data security, privacy, and compliance, Akku provides users with peace of mind while improving overall productivity. With its flexible and scalable architecture, Akku is well-equipped to meet the evolving needs of modern organizations in managing their identity and access requirements.
Introduction
ServiceNow SAML with Akku provides a secure and reliable method for authenticating users. To set it up, you'll need a ServiceNow account, an Akku account, and the SAML Integration feature enabled. First, configure your Akku instance by adding the ServiceNow SAML app and specifying the required fields. Then, grant Akku permission to access your ServiceNow domain. Next, set up the SAML request URL and authentication URL in your Akku instance. Finally, test your integration to ensure seamless authentication for your users.
Configure ServiceNow Settings on Akku
The steps listed below provide instructions on Adding the Application app from the QuickLaunch App Store and Configuring SAML SSO to the added Application app
Login to IDP
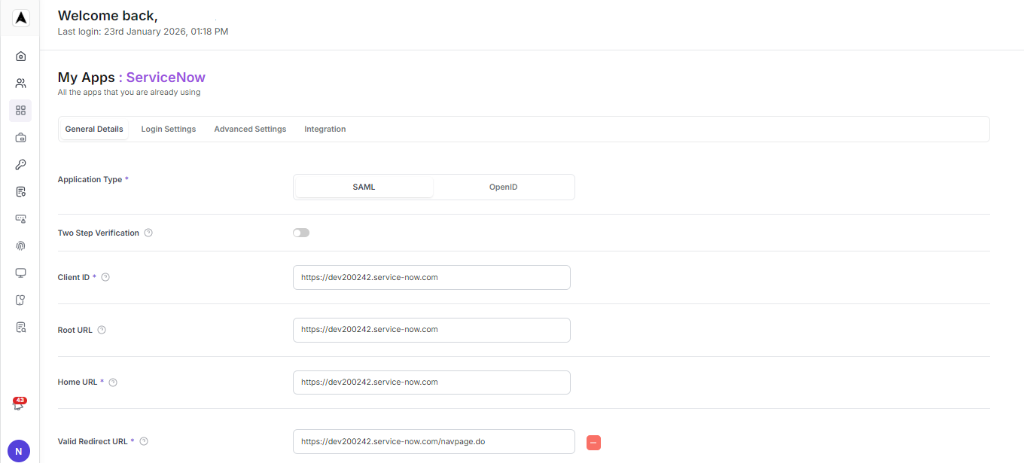
Login to IDP (Akku) as an administrator. Go to App Management, in the available apps choose 'ServiceNow' and click on Setup/Configure SSO. Then navigate to the integration tab to generate the SAML metadata file.
Login to ServiceNow
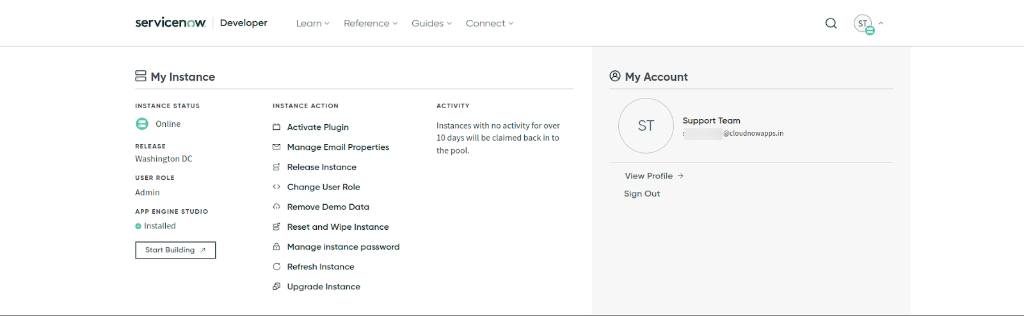
Login into service now admin account.
Start Building
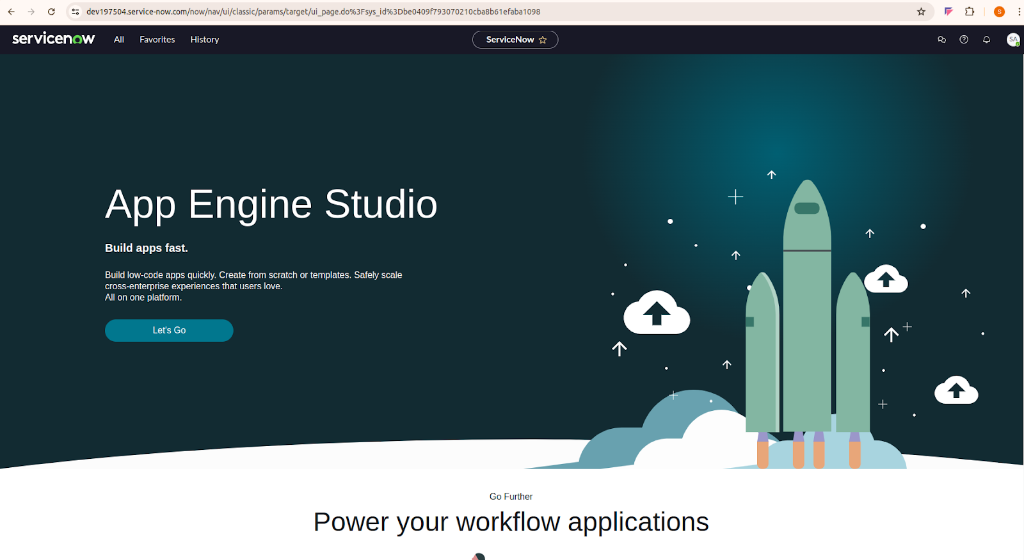
Click on 'Start Building', which will create an instance of your account.
Configure Service Provider
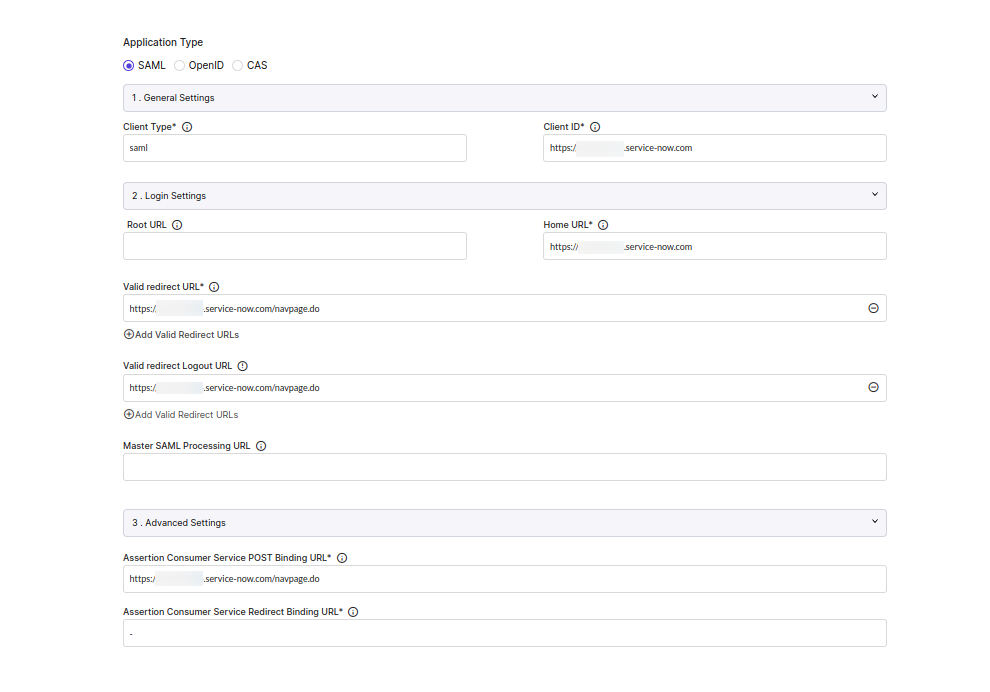
With that instance (e.g., https://dev197504.service-now.com/), configure it in IDP as a service provider.
Install SSO Plugin
Now click on ALL and search for plugins and install “Integration-multiple provider single sign on installer”.
Identity Provider Section
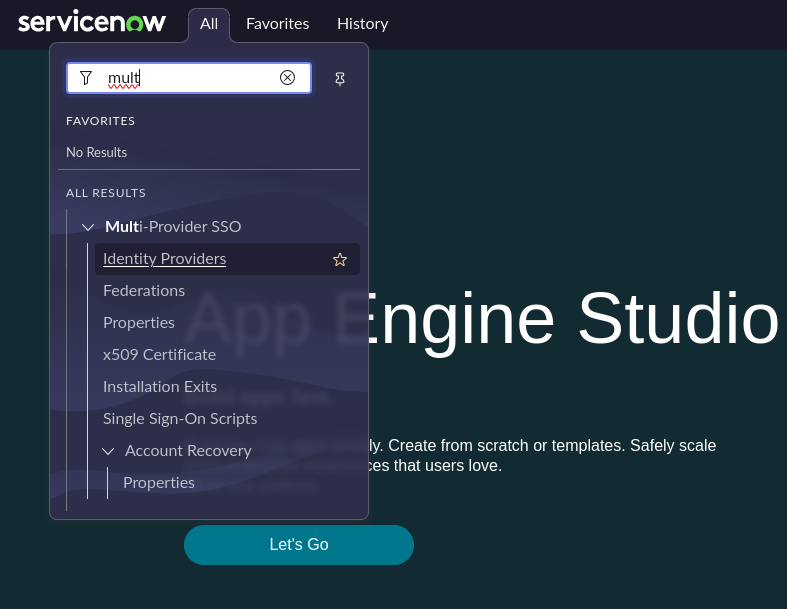
Search on multi-provider-sso and go to identity provider section.
Configure Identity Provider
Click 'New' to configure the identity provider (AKKU).

Select SAML
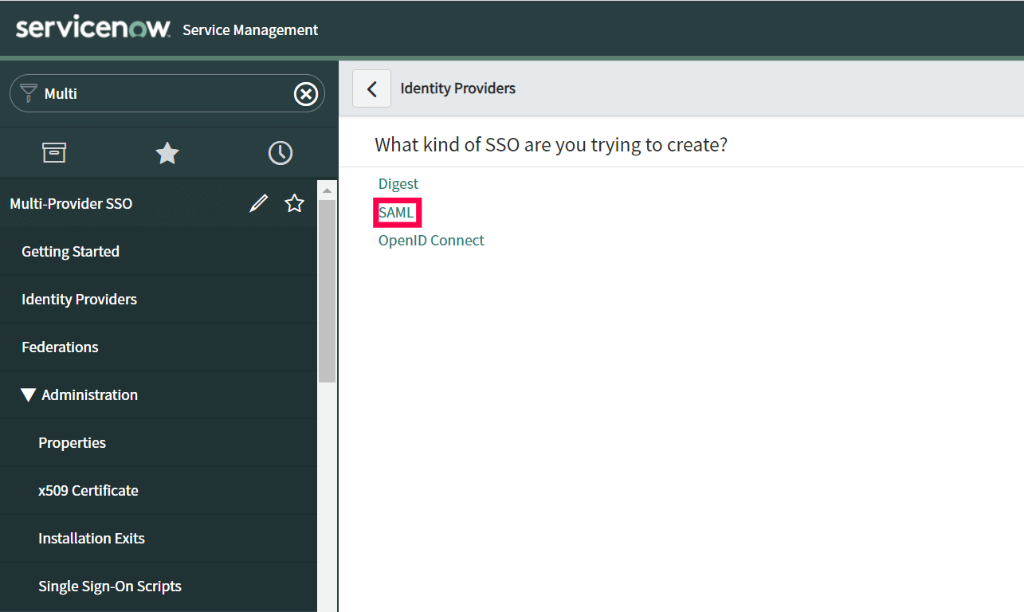
In the "What kind of SSO are you trying to create?" section, select SAML.
Import Identity Provider Metadata
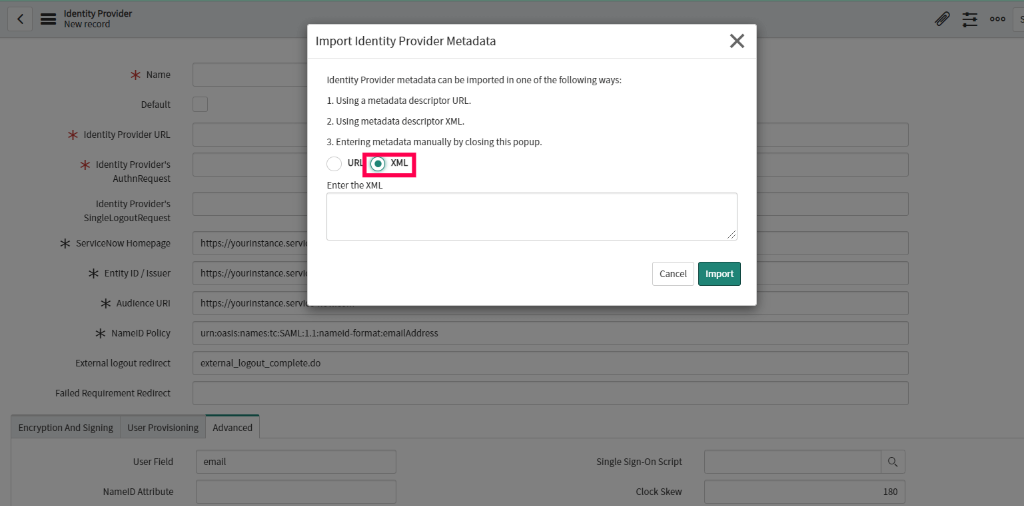
In the 'Import Identity Provider Metadata' pop-up that appears, select XML and paste the XML file content you had copied in IDP, then click import.
User Field Configuration
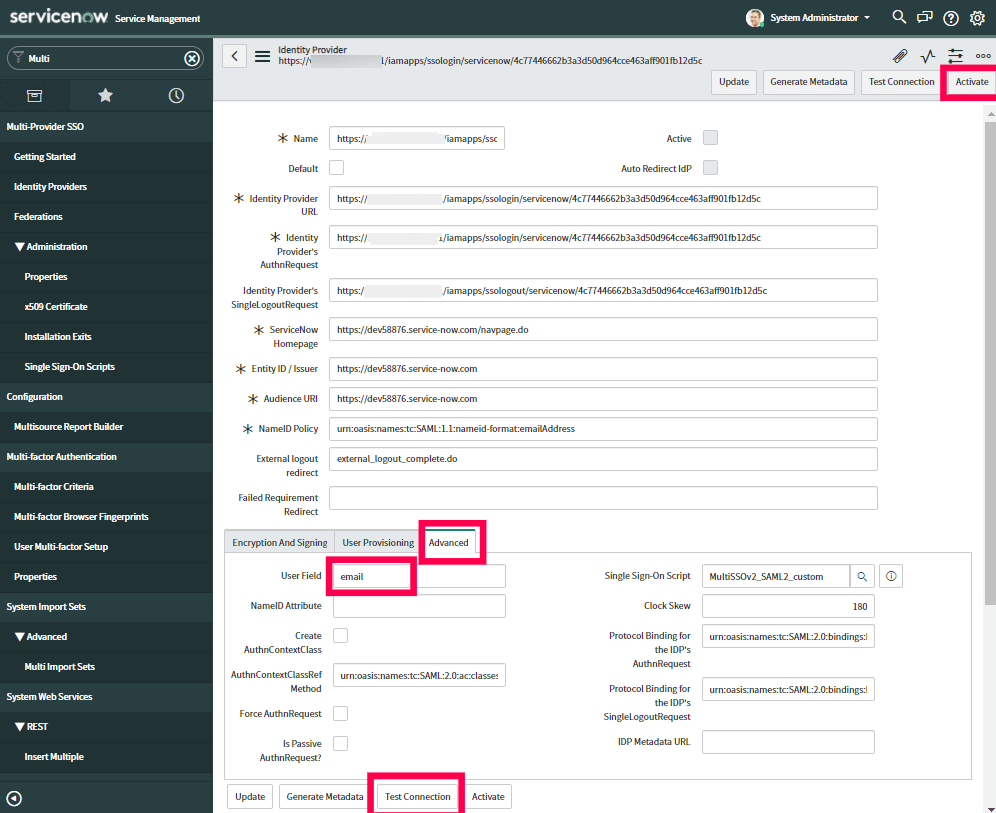
All the required fields will be auto-filled. Scroll down and click the 'Advanced' tab. Make sure the value "email" is entered in the User Field.
Encryption and Signing
In the 'Encryption and Signing' tab, enable all the checkboxes.
| Field | Instruction |
|---|---|
| Signing/Encryption Key Alias | Enter the alias name you created for the SAML 2.0 Keystore. By default, the integration looks for the alias saml2sp. |
| Signing/Encryption Key Password | Enter the password to your SAML 2.0 Keystore. By default, the password is the same as the default alias name. |
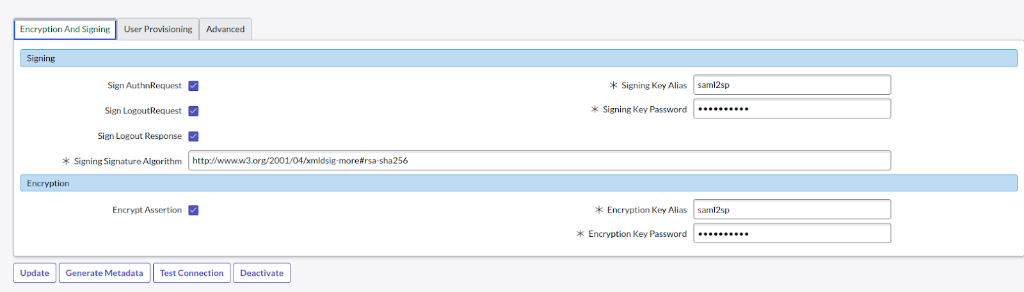
Generate Metadata
Now generate the metadata file and configure it in IDP.
Test Connection
Click 'Test Connection'. You will be asked to log into Akku. Once the connection is successful, click 'Activate'.
Enable Multi-Provider SSO
In the left pane, navigate to Multi-Provider SSO → Administration → Properties. Make sure that Enable multiple provider SSO is enabled. In the field for user identification, change "user_name" to email as the value.

Final Akku Configuration
With that metadata file,configure it in AKKU.